Vacuum Forming Process: Step-by-Step Guide (with Diagram)
June 27, 2026

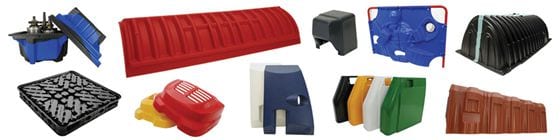
The vacuum forming process has six main steps: make a mold, clamp a plastic sheet, heat the sheet until pliable, position it over the mold, apply a vacuum to pull the plastic onto the mold, then cool and trim the part. It is a fast, low-cost way to form large, thin-walled plastic parts, and the same steps scale from a tabletop machine to industrial production.
Key takeaways
- Six steps: mold → clamp → heat → position → vacuum → trim.
- Works with PETG, HIPS, ABS, PC and HDPE sheet, typically 0.5–6 mm thick.
- The mold (mould) needs draft and vent holes so the sheet forms cleanly and air escapes.
- Deep parts thin out at the corners — plan wall thickness and draw ratio in advance.
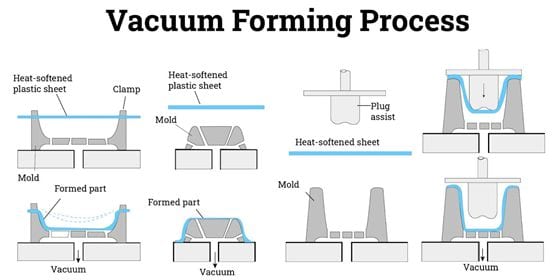
The diagram below shows how the heated sheet is drawn down onto the mold by the vacuum:
For the full background — machines, materials, and pros and cons — see our vacuum forming guide, or get parts made with our custom vacuum forming services.
Step 1: Make the vacuum forming mold
Start with a single-sided mold (mould) of the part. Prototype molds can be wood, MDF, resin, or 3D-printed; production molds are usually CNC-machined aluminum for durability and fine detail. Add draft angles so the part releases, and small vent holes in deep or sharp areas so trapped air can be pulled out during forming.
Step 2: Clamp the plastic sheet
Load a thermoplastic sheet — PETG, HIPS, ABS, PC, or HDPE — into the clamping frame above the mold. The frame holds the sheet flat and sealed at the edges so the vacuum can form it without leaks.
Step 3: Heat the sheet
Heaters warm the clamped sheet evenly until it softens and sags into a pliable, formable state. Even heating is critical: hot spots stretch too thin and cold spots will not form, so temperature and time are tuned to the material and thickness.
Step 4: Position the mold and sheet
Once the sheet reaches forming temperature, the mold rises into it (or the sheet lowers onto the mold) so the two make full contact across the surface. On deeper parts, the sheet may be pre-stretched with a bubble or plug to even out wall thickness.
Step 5: Apply the vacuum
The vacuum switches on and pulls the air out from between the sheet and the mold. Atmospheric pressure pushes the softened plastic tightly onto the mold surface, so it picks up the shape and detail. For deeper draws or crisper features, pressure forming adds compressed air on the back of the sheet.
Step 6: Cool, release, and trim
The formed part is cooled (often with fans or a fine water mist) until it sets and holds the mold shape. It is then released from the mold and the excess flange is trimmed away — by hand, CNC, or laser — and any holes, edges, or finishing are added to reach the final part.
Vacuum forming process tips
- Design for draft: 3–5° of draft helps the part release and reduces drag marks.
- Watch the draw ratio: the deeper the part, the more the sheet thins at the corners — start with thicker sheet for deep parts.
- Vent the mold: vent holes in tight corners prevent webbing and trapped-air defects.
- Pick the right material: see our vacuum forming materials guide (PETG vs HIPS vs ABS vs PC).
Conclusion
The vacuum forming process is simple to understand but precise in practice: mold, clamp, heat, position, vacuum, and trim. Get the mold draft, venting, and material right and you can produce large plastic parts quickly and affordably.
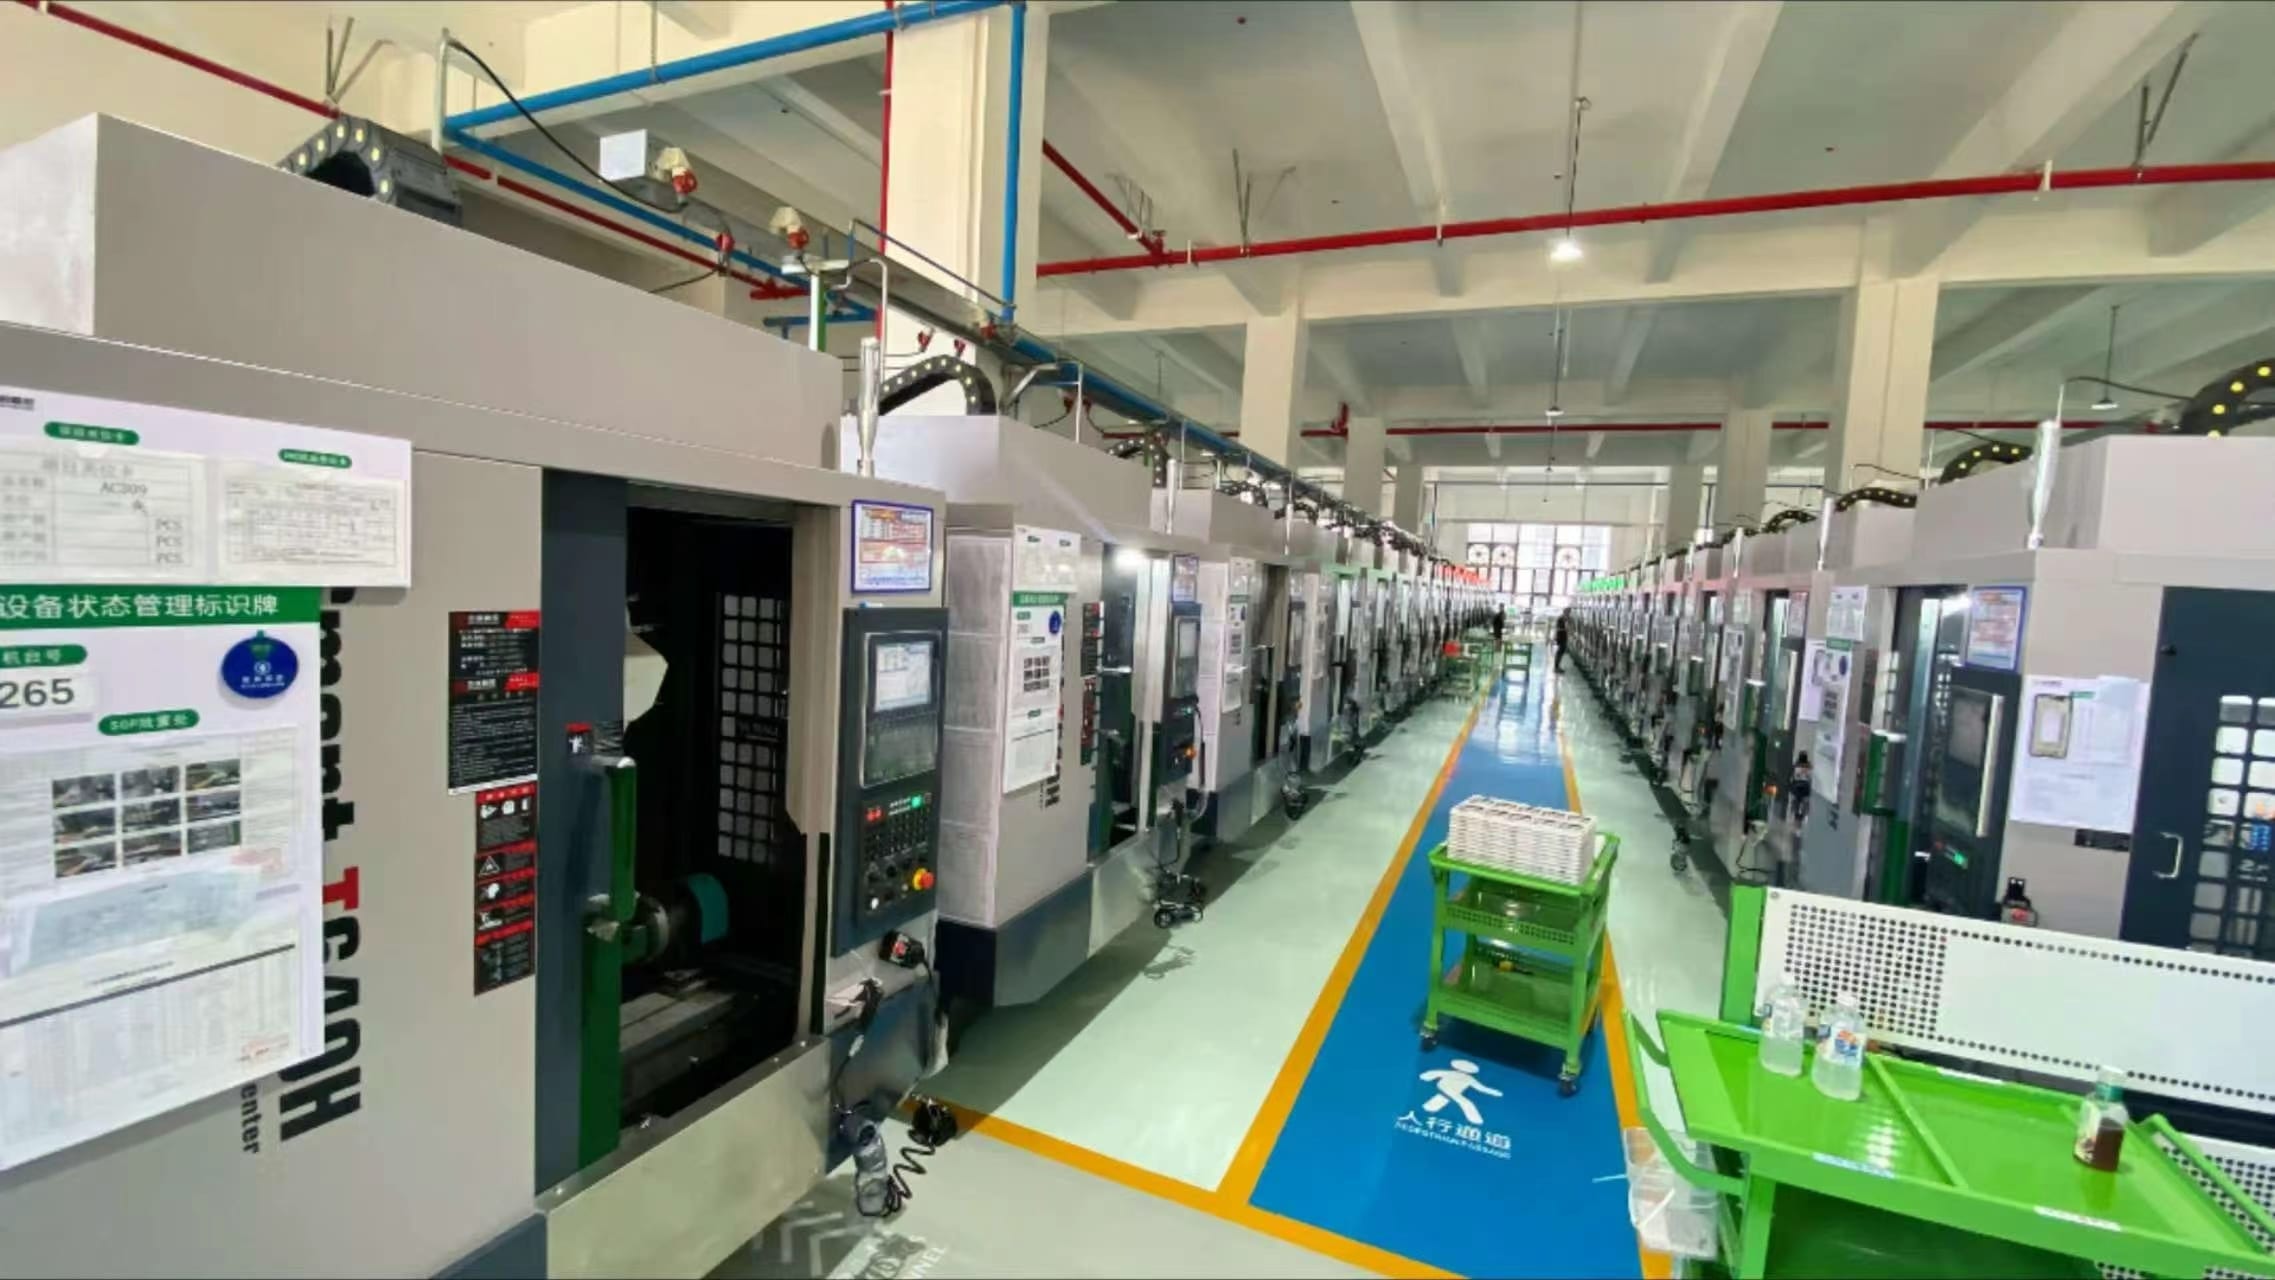
Want parts vacuum formed for you? Sendot Technology offers custom vacuum forming and thermoforming services — prototype to low-volume production, with low-cost molds and worldwide shipping. Request a quote.
Related manufacturing services
Explore how Sendot Technology can manufacture your custom parts: